
Mastering Your Car Audio Installation: A Guide to Installing Car Audio System
- Curtis Tieu
- Jan 19
- 4 min read
Upgrading your vehicle’s sound system can transform your driving experience, whether you’re a parent shuttling kids, a senior enjoying peaceful rides, or a ride-share driver aiming to impress passengers. Installing a car audio system might seem daunting, but with the right guidance, it becomes a manageable and rewarding project. This post will walk you through the essentials of installing car audio system components, ensuring you get the best sound quality and reliability.
Understanding the Basics of Installing Car Audio System
Before diving into the installation process, it’s important to understand the key components involved in a car audio system. These typically include:
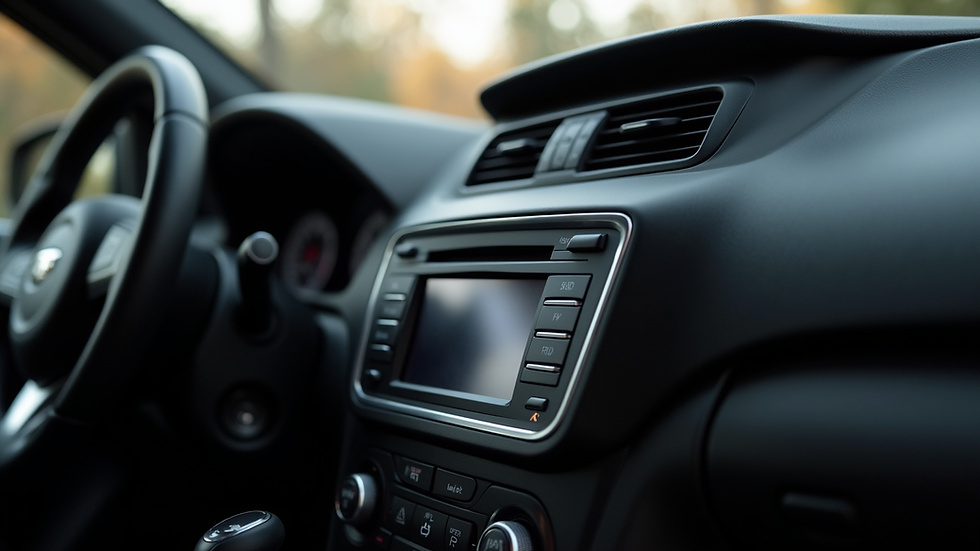
Head Unit: The control center for your audio system, often featuring radio, Bluetooth, and media playback.
Speakers: Deliver sound throughout the vehicle. Options include coaxial and component speakers.
Amplifiers: Boost the audio signal for clearer, louder sound.
Subwoofers: Handle low-frequency sounds, adding depth to your music.
When installing a car audio system, consider the vehicle’s layout and your specific needs. For example, parents with children might prioritize durable, easy-to-clean speaker covers, while RV travellers may want a system that integrates with external speakers for outdoor use.
Step-by-Step Installation Tips
Plan Your Setup: Sketch a layout of where each component will go. This helps avoid surprises during installation.
Disconnect the Battery: Safety first. Always disconnect the negative terminal to prevent electrical shorts.
Remove Old Components: Carefully take out the factory head unit and speakers.
Run Wiring: Use quality wiring kits designed for automotive use. Secure wires away from moving parts.
Install New Components: Mount speakers and head unit securely. Connect wiring according to the manufacturer’s instructions.
Test the System: Before reassembling panels, test the audio to ensure everything works correctly.
Reassemble and Secure: Put all panels back in place and double-check all connections.

Does Geek Squad Install Car Radios?
Many people wonder if professional services like Geek Squad offer car audio installation. The answer is yes, Geek Squad does provide car radio installation services at many Best Buy locations. They can install a variety of car audio components, including head units and speakers, ensuring professional-grade wiring and setup.
Using a service like Geek Squad can be especially helpful for those who:
Lack the time or tools for DIY installation.
Want to ensure warranty protection.
Prefer professional calibration for optimal sound quality.
However, keep in mind that prices and services may vary by location, so it’s a good idea to call ahead and confirm availability.
Choosing the Right Equipment for Your Vehicle
Selecting the right equipment is crucial for a successful installation. Here are some tips tailored to different users:
Parents and New Drivers: Look for systems with easy-to-use interfaces and Bluetooth connectivity for hands-free calls.
Seniors: Prioritize clear sound quality and simple controls.
Ride-Share and Passenger Transport Drivers: Consider durable, high-quality speakers and amplifiers that can handle long hours of use.
RV Travellers and Campers: Choose weather-resistant components and systems that can connect to external speakers.
Outdoorsmen: Opt for rugged, waterproof speakers and portable amplifiers.
When shopping, check for compatibility with your vehicle’s make and model. Many manufacturers provide fit guides to simplify this process.
Wiring and Safety Considerations
Proper wiring is the backbone of any car audio system. Here are some safety and quality tips:
Use fused wiring kits to protect your vehicle’s electrical system.
Avoid running wires near heat sources or moving parts.
Use wire loom or conduit to protect cables.
Ground your amplifier properly to prevent noise and electrical issues.
Double-check all connections for tightness and correct polarity.
If you’re unsure about wiring, consulting a professional or referring to detailed manuals can save you from costly mistakes.

Enhancing Your Audio Experience
Once your system is installed, you can further enhance your listening experience:
Sound Deadening: Adding soundproofing materials inside doors and panels reduces road noise and improves sound clarity.
Equalizer Settings: Adjust bass, treble, and midrange frequencies to suit your preferences.
Speaker Placement: Experiment with speaker angles and positions for balanced sound.
Regular Maintenance: Keep speakers and connections clean and dry to prolong system life.
By taking these extra steps, you ensure your car audio system delivers the best possible performance for years to come.
Final Thoughts on Installing Your Car Audio System
Mastering the installation of your car audio system is a valuable skill that enhances your driving enjoyment and vehicle value. Whether you choose to do it yourself or seek professional help, understanding the components, wiring, and setup process is essential. Remember, a well-installed system not only sounds better but also lasts longer and operates safely.
For those ready to start, consider exploring detailed guides and kits tailored to your vehicle. And if you want expert assistance, services like Geek Squad can provide peace of mind with professional installation.
For more detailed information and resources on car audio installation, check out trusted retailers and service providers.
Happy driving and enjoy your upgraded sound system!


Comments